What you need: an empty pizza box (sturdy), two large binder clips, a ruler or straight edge, scissors or a box-cutter.
How to do it:
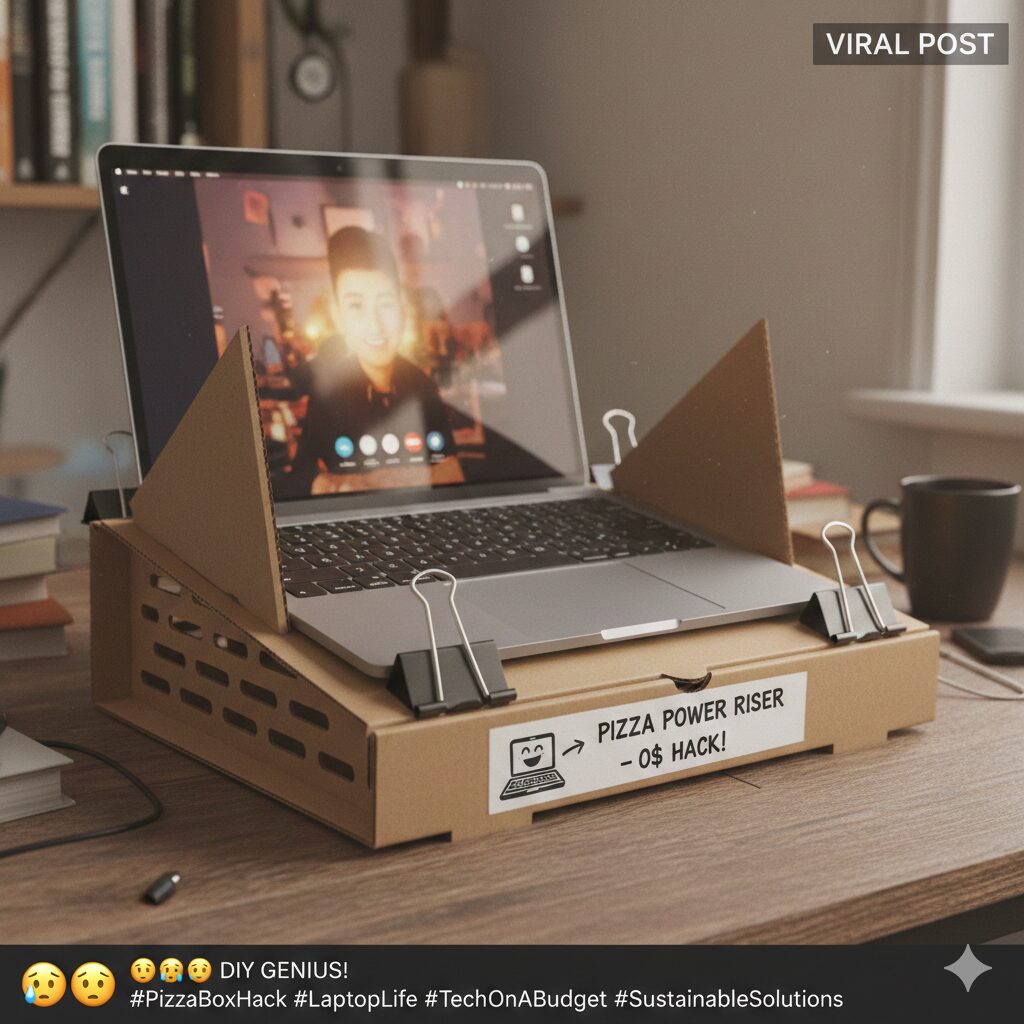
- Fold the pizza box flat, then reassemble it so the lid is the top platform and the sides form two triangular supports under it.
- Cut two identical triangular wedges from the box sides (about 6–10 cm high) and slide them under the front edge of the lid to create an incline — test the angle with your laptop.
- Use the binder clips to clamp the wedges to the lid so they don’t slide. Clip one clip on each side where the wedge meets the lid.
- For extra ventilation, cut a thin slot pattern under the laptop zone (don’t cut too many holes). The box elevates the rear, improves airflow, and the clips make it stable.
- Collapse by removing the clips and flattening the box — fits under a bed or in a drawer.
Why it’s awesome: raises screen height, gives airflow, is foldable and zero cost if you have the box. Works surprisingly well for light laptops.
#PizzaBoxHack #LaptopRiser #DIYDesk #BudgetHacks #VentilatedSetup #CollapsibleDesign #WorkSmart #HomeOfficeHacks #ZeroCostHack #TechOnABudget #SimpleSolutions #CreativeReuse #UpcycleIdeas #DeskUpgrade #ProductivityBoost

Leave a Reply